Blog

Best Strategies for International Payments

Reading Time: 3 minutes

So, you’re planning your next overseas adventure and contemplating how to navigate the intricacies of currency conversion without falling prey to exorbitant fees. Don’t worry; I’ve got you covered, drawing from my own experience during my current trip to Japan and I’ll tell you everything you need to know about international payments! Personally favoring direct payments from my bank account, I’ll be focusing on that, coupled with some straightforward financial math.
1. Know Your Terrain

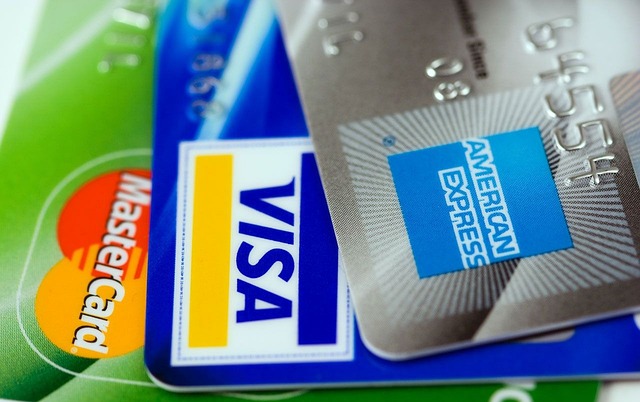
Before embarking on your journey, it’s imperative to acquaint yourself with the prevalent payment methods of your destination. In remote African towns, cash reigns supreme, whereas Europe offers the convenience of cards and digital payments. Reflecting on my 10-day stint in Norway, I never once needed to withdraw Norwegian Krone, thanks to the prevalence of digital payment options. Similarly, a week in Scotland unfolded without a single Pound in my wallet. Understanding local payment landscapes ensures a smoother financial journey during your travels. In conclusion, adapting to the payment practices of your destination is pivotal for effective financial management while traveling.

2. Choose Wisely: Conversion Fees and Rates

Research is your best ally when it comes to finding a bank or company offering favorable conversion fees. For my Japanese adventure, I experimented by opening accounts with four different providers to identify the most cost-effective option. Ultimately, I opted for Wise, which, at the time, applied fees of 0.55% for currency conversion €/¥. While some banks may offer fee-free conversions, be cautious of additional costs; my bank, for instance, levied substantial charges for currency-related transactions and foreign currency accounts. When checking conversion fees, also scrutinize the exchange rate to avoid potential pitfalls.

3. Navigate Withdrawal Fees

Be vigilant about withdrawal fees! Currently, Wise offers a reasonable policy in my case, allowing two free withdrawals a month capped at €200, with subsequent withdrawals incurring a 1.75% commission on the withdrawn amount. Additionally, a fixed commission of €0.50 applies from the third withdrawal onwards. If you’re considering opening a Wise account, here’s my code for extra benefits: https://wise.com/invite/dic/matteom1309.

4. Avoid Foreign Currency Cashless Payment Fees

Ensure that your bank doesn’t impose fees for debit or credit card transactions in foreign countries. Learn from my oversight – my bank altered the conditions for my debit card, applying a 1% commission on each transaction in a different currency. Before your travels, confirm that your bank won’t charge extra fees for payments via debit or credit card. Currently, I handle my cashless payments through a BBVA account, enticed by a promotion offering 4% of my liquidity. Interested? Open an account here https://www.bbva.it/promo/passaparola.html (apologies for the Italian!), and use my code 77660078753526 for a free €10 and additional benefits.

5. Optimize Your Payment Method

In my Japanese adventure, the cheapest payment option for me is the debit card since it incurs no additional costs. After crunching the numbers, identify the most economical payment method that suits your preferences. Stick to it as much as possible during your travels, and don’t be afraid to make mistakes. My first week in Japan saw a few suboptimal payments, but it’s all part of the learning process. The longer you stay, the more adept you become.

6. Establish a Strategic Plan

To ensure you don’t incur unnecessary fees and commissions, formulate and document a plan of action based on your decisions. Cover each type of potential payment you might need. For my Japan trip, here’s my action plan:

Cashless Payment: Utilize my BBVA debit card wirelessly on ATMs.

Cash in Wallet:

  1. Instant bank transfer from BBVA to Wise account in €.
  2. Conversion of € to ¥ in Wise app.
  3. Withdrawal from ATM with Wise VISA debit card.

Foreign Bank Transfer:

  1. Instant bank transfer from BBVA to Wise account in €.
  2. Conversion of € to ¥ in Wise app.
  3. Instant bank transfer from Wise ¥ account.

Online Payments in ¥: Use BBVA debit card details.

In crafting your strategic plan, you’ll ensure a smooth and cost-effective financial journey throughout your travels. Happy exploring!

Mastering the Art of Flight Selection: A Comprehensive Guide

Reading Time: 3 minutes

In this insight I’m going to show you how I usually pick a flight when I need to travel for work or personal purposes! This is the best way I found so far, let me know in the comment if you found other better solutions!

Personally, the flight search engine I find closer to my needs is Google Flight: https://www.google.com/travel/flights. There you can select a departure, a destination, a flexible range of dates or even use the function “Explore” that Google provides. What I think makes Google Flight the most powerful search engine for flights, is a sum of multiple factors.

1. Departure and destination don’t have be airports

When you select the departure, you don’t have to choose a specific airport like you usually do when searching for a flight, but you can select a whole city! For example, Milan is considered to have 3 airports: Malpensa, Linate and Orio Al Serio. Usually, if you wanted to depart from Milan, you’d have to do the search 3 times, one for each different departure airport. Now you can avoid this process and directly add a whole City which will automatically include all its airports: really a time saving option! This can be applied to destinations also.

2. Multiple departure and destination options

Beside what I mentioned in the previous point, you can even select more than 1 departure or destination. When you enter a departure, you can select the “+” that will appear close to the input area, which will allow you to add a departure up to a total of (currently) 7 different departure cities! The same maximum of 7 can be applied to destinations.

3. Flexible dates

After entering your departure and destination details, click on the departure date field. Opt for the “Flexible dates” or “Flexible month” option, which will present a calendar illustrating the lowest fares across different days. You can either choose specific dates or maintain flexibility to view price fluctuations over a broader range. Google Flights will then generate a list of available flights with corresponding prices based on your flexible date selection. This feature empowers you to easily compare fares, aiding in the discovery of cost-effective travel options.

4. Additional filters

Following your flexible date search on Google Flights, you can further refine your results by utilizing various filters. These include options to customize your preferences based on the number of stops, preferred airlines, or specific times for departure and arrival. These refinements allow you to tailor your flight options more precisely, ensuring that the chosen itinerary aligns with your preferences and travel needs.

Bonus point – Destination: Anywhere

If you are just in the mood for a vacation and you feel like being surprised, on Google Flights you can use the “Anywhere” destination function! In order to do so, visit the website and navigate to the “Explore” tab. Instead of specifying a particular destination in the “Flying to” field, opt for “Anywhere.” This signals to Google Flights that you are open to exploring flight options to various destinations worldwide. You can also combine these with the “Flexible dates” option, if your travel plans are more open-ended. Once your preferences are configured, click on the “Explore” or “Search” button. Google Flights will then generate a map displaying a multitude of potential destinations, each accompanied by corresponding flight prices. Use the filters on the left side of the screen to refine your search, including options like specific travel dates, trip duration, interests, or price ranges. You can also zoom in and out of the map to focus and have more details on specific areas. This feature is particularly useful for travelers seeking inspiration or those with a sense of spontaneity, allowing them to discover exciting destinations and find affordable flight options tailored to their preferences.

1st day in Japan – The Arrival

Reading Time: 3 minutes

29th December 2023

Welcome to the beginning of my Japan adventure!

On this blog, I’ll explain how I did everything in my journey to Japan. In this first post, there’ll be the first part of my very first day of my life in Japan.

1. Landing and Luggages

I touched down at Haneda Airport, and right from the start, I encountered a small hiccup: I had already filled in my immigration details on the official website https://www.vjw.digital.go.jp/main/#/vjwplo001, however, when they handed me a paper, I mistakenly thought it was different from the online form, so I filled it out again. Note: if you have the QR Code for immigration, there’s no need to fill in any additional paperwork. After crumpling the unnecessary paper, I smoothly breezed through immigration using the QR Code. While waiting in line, I took advantage of the time to connect to the free airport WiFi.

2. Immigration

When it was my turn, I presented my passport with the VISA and the Certificate of Eligibility (CoE). Although I didn’t have the original CoE, which was with the school, I handed over a self-printed copy. In return, they issued the Zairyu Card, essentially the Residence Card. It was also time to submit the part-time job (バイト) request, which I had filled out before leaving home but here’s the 2nd hiccup: I forgot to submit it. A tip for the future: forgetting to submit the part-time job request now means a trip to the Tokyo immigration office, conveniently 15 minutes away from Shinagawa station, reachable via the 品99 line.

3. Luggages

After acquiring the Zairyu card, it was luggage collection time. The baggage claim is just past immigration; I waited around 30 minutes for my second piece of luggage. While waiting, having the QR code for Custom Declaration from the official website https://www.vjw.digital.go.jp/main/#/vjwplo001, I utilized the time to scan it at the terminals following the proper procedure. If you don’t have the QR code, you’ll find paper forms near the terminals. Quick note on Custom declaration: pay attention to the rules, especially concerning medicinal goods, to avoid having to fill in the Yunyu Kakuninsho, a document needed in certain cases.

4. Customs

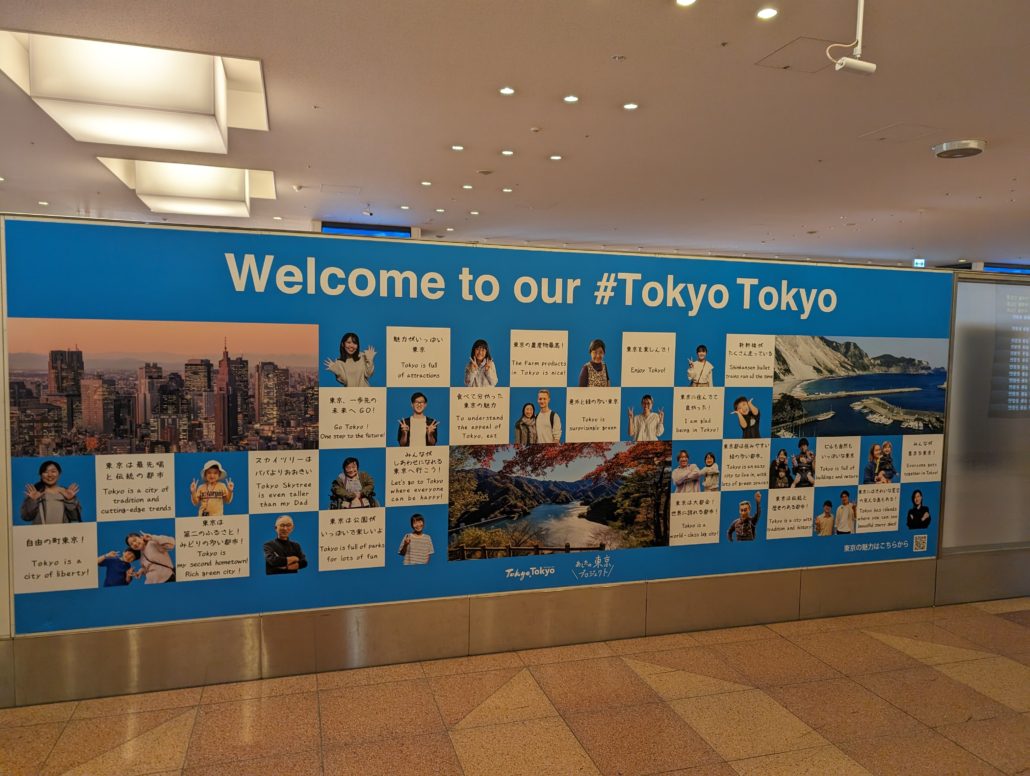
With luggage in hand, I was free to head towards the customs, where I showed the already scanned QR code to Custom staff. If you don’t have it, provide the completed papers. Luckily for me, that concluded the process and I exited the luggage area, entering into the Arrivals area – WELCOME TO JAPAN!

5. Internet Connection and Cash

Next on the agenda, I collected my eSIM code from the counter on the right corridor: personally I opted for a Mobal long-term eSIM with a voice+data plan, which I booked few days in advance. Once they handed me the paper with the instructions, I followed the activation procedure, setting up the APN. While waiting for activation, I seized the opportunity to withdraw some Yen from my bank account using Wise for its low commission (0.55% conversion EUR/JPY). Japanese ATMs typically charge withdrawal fees, and on this occasion, I paid the standard 220 ¥ fee.

6. Transport Ticket

To make the most of my time during eSIM activation, I also purchased a ticket to reach my destination, Shibuya. After checking options on Google Maps, I chose the monorail for its panoramic views – a bit pricier but worth it for the initial taste of Japan. Luckily, there was a special fare that day, and I only paid 500 ¥. If you’re not sure about what you are doing, don’t worry: there will be employee that will kindly help you buying the ticket. Note: at terminals, cash is the only payment method, often. As I secured the ticket, the eSIM became active.

7. Trip to Shibuya

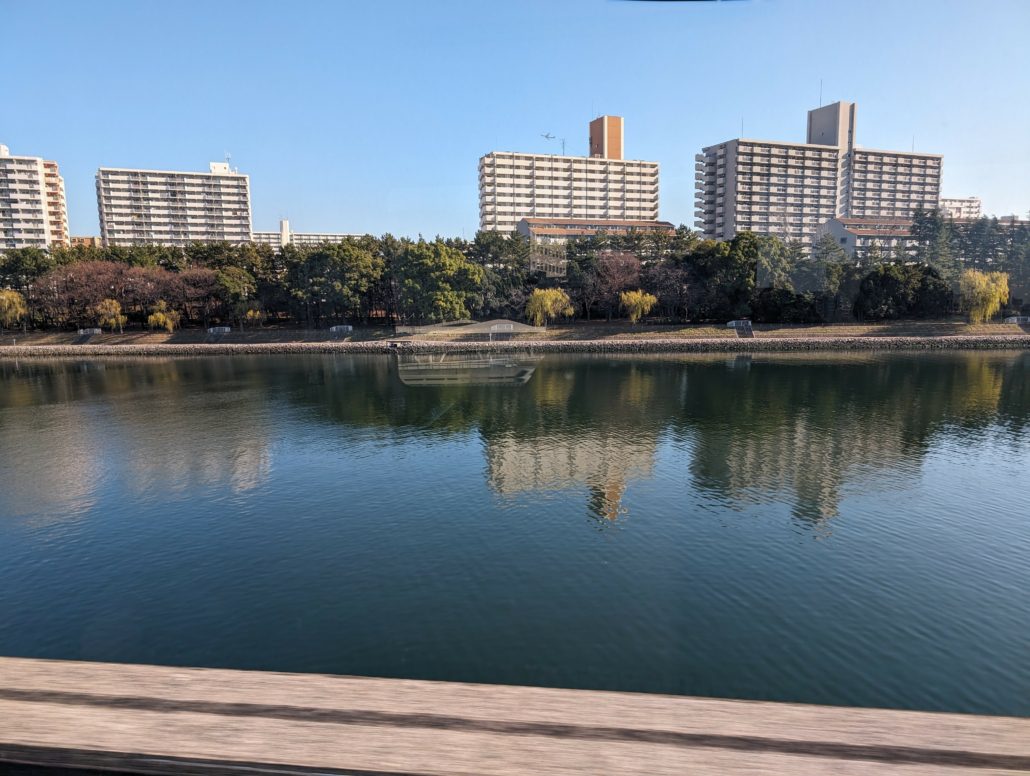
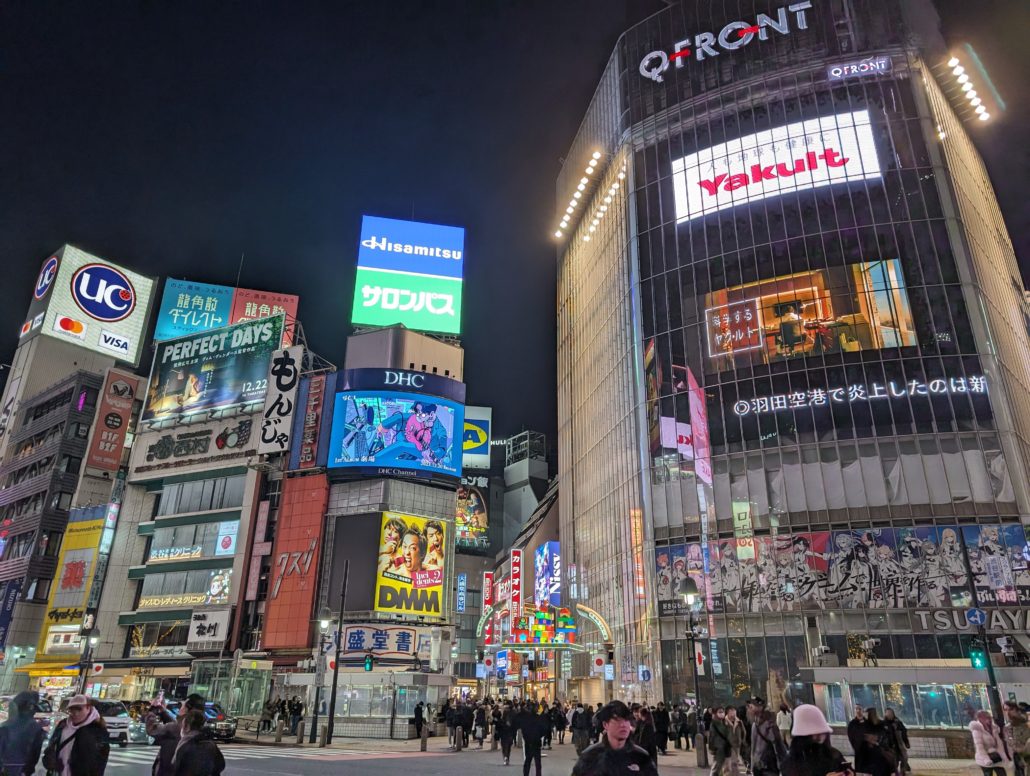
I hopped on the Monorail, headed to Hamamatsuchō, be sure to check the destination of the train first! While you’re on your ride, enjoying the views of the skyscraper and the rivers. Once at Hamamatsuchō, I transferred to the Yamanote Line bound for Shibuya/Shinjuku. Arriving at Shibuya, after a while needed to find the right exit, I had another first-time experience: when you put your ticket through the exit gate, you won’t get it back, so don’t wait for it to returned and instead just exit. Once I was actually out of the station, I marveled at the famous scramble crossing and allowed myself to be fully immersed in the vibrant atmosphere of this iconic Japanese district while making my way home.