1st day in Japan – The Arrival
29th December 2023
Welcome to the beginning of my Japan adventure!
On this blog, I’ll explain how I did everything in my journey to Japan. In this first post, there’ll be the first part of my very first day of my life in Japan.
1. Landing and Luggages
I touched down at Haneda Airport, and right from the start, I encountered a small hiccup: I had already filled in my immigration details on the official website https://www.vjw.digital.go.jp/main/#/vjwplo001, however, when they handed me a paper, I mistakenly thought it was different from the online form, so I filled it out again. Note: if you have the QR Code for immigration, there’s no need to fill in any additional paperwork. After crumpling the unnecessary paper, I smoothly breezed through immigration using the QR Code. While waiting in line, I took advantage of the time to connect to the free airport WiFi.
2. Immigration
When it was my turn, I presented my passport with the VISA and the Certificate of Eligibility (CoE). Although I didn’t have the original CoE, which was with the school, I handed over a self-printed copy. In return, they issued the Zairyu Card, essentially the Residence Card. It was also time to submit the part-time job (バイト) request, which I had filled out before leaving home but here’s the 2nd hiccup: I forgot to submit it. A tip for the future: forgetting to submit the part-time job request now means a trip to the Tokyo immigration office, conveniently 15 minutes away from Shinagawa station, reachable via the 品99 line.
3. Luggages
After acquiring the Zairyu card, it was luggage collection time. The baggage claim is just past immigration; I waited around 30 minutes for my second piece of luggage. While waiting, having the QR code for Custom Declaration from the official website https://www.vjw.digital.go.jp/main/#/vjwplo001, I utilized the time to scan it at the terminals following the proper procedure. If you don’t have the QR code, you’ll find paper forms near the terminals. Quick note on Custom declaration: pay attention to the rules, especially concerning medicinal goods, to avoid having to fill in the Yunyu Kakuninsho, a document needed in certain cases.
4. Customs
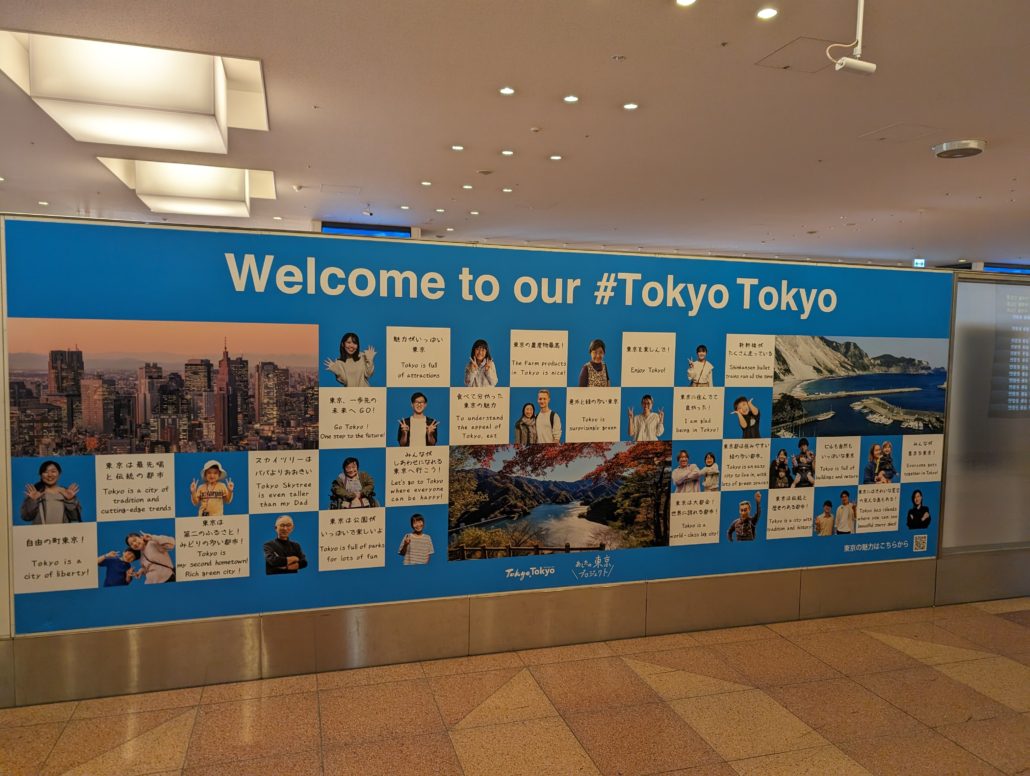
With luggage in hand, I was free to head towards the customs, where I showed the already scanned QR code to Custom staff. If you don’t have it, provide the completed papers. Luckily for me, that concluded the process and I exited the luggage area, entering into the Arrivals area – WELCOME TO JAPAN!

5. Internet Connection and Cash
Next on the agenda, I collected my eSIM code from the counter on the right corridor: personally I opted for a Mobal long-term eSIM with a voice+data plan, which I booked few days in advance. Once they handed me the paper with the instructions, I followed the activation procedure, setting up the APN. While waiting for activation, I seized the opportunity to withdraw some Yen from my bank account using Wise for its low commission (0.55% conversion EUR/JPY). Japanese ATMs typically charge withdrawal fees, and on this occasion, I paid the standard 220 ¥ fee.
6. Transport Ticket
To make the most of my time during eSIM activation, I also purchased a ticket to reach my destination, Shibuya. After checking options on Google Maps, I chose the monorail for its panoramic views – a bit pricier but worth it for the initial taste of Japan. Luckily, there was a special fare that day, and I only paid 500 ¥. If you’re not sure about what you are doing, don’t worry: there will be employee that will kindly help you buying the ticket. Note: at terminals, cash is the only payment method, often. As I secured the ticket, the eSIM became active.
7. Trip to Shibuya
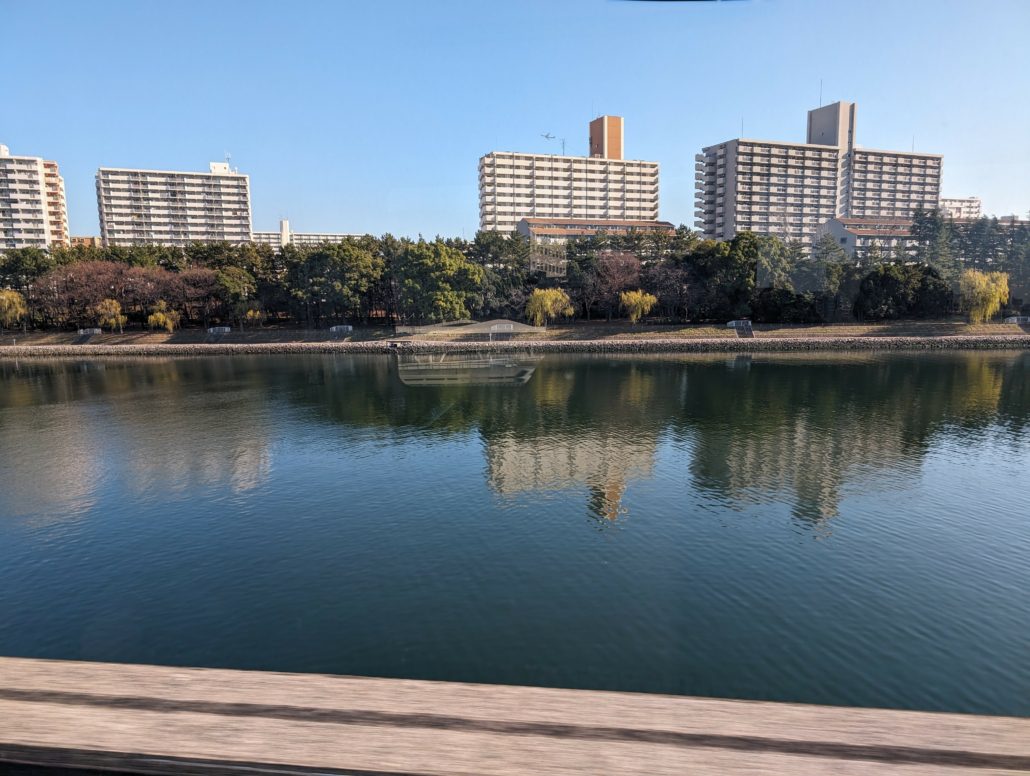
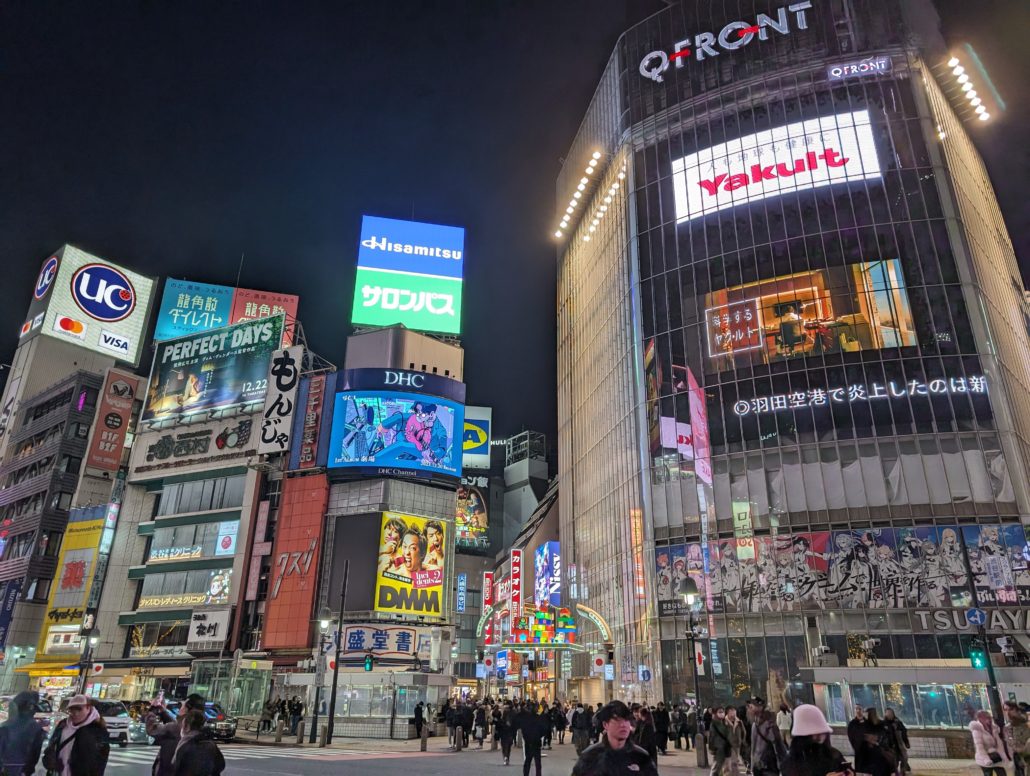
I hopped on the Monorail, headed to Hamamatsuchō, be sure to check the destination of the train first! While you’re on your ride, enjoying the views of the skyscraper and the rivers. Once at Hamamatsuchō, I transferred to the Yamanote Line bound for Shibuya/Shinjuku. Arriving at Shibuya, after a while needed to find the right exit, I had another first-time experience: when you put your ticket through the exit gate, you won’t get it back, so don’t wait for it to returned and instead just exit. Once I was actually out of the station, I marveled at the famous scramble crossing and allowed myself to be fully immersed in the vibrant atmosphere of this iconic Japanese district while making my way home.


